

 areyis


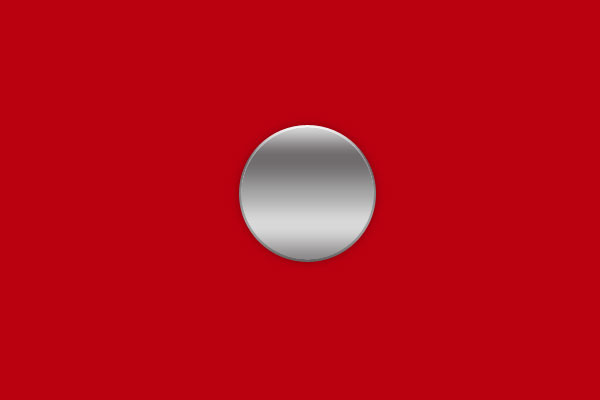
Start by creating a new document with 600×400 pixels. Fill layer with any background color you would like. In my case i used color #b90010.

Select the Ellipse Tool to create our icon basis. Create round shape in middle of canvas with whatever color you want.

After that rasterize it by going to Layer > Rasterize > Shape and apply following layer styles by going to Layer > Layer Style.


Duplicate current layer using Ctrl+J. Clear new layer style with Layer > Layer Style > Clear Layer Style.
Go to Edit > Free Transform and transform like you can see on image below. Hold down Shift while resizing to keep transform proportionally.

Now mess with the fill opacity. Set up fill opacity about 0% and apply Stroke layer style.


Select the Brush Tool and hard round brush about 10 px to make the vertical line with any color you want.

Apply Gradient Overlay layer style for this layer:


After that merge this layer with previous one (be sure that you got all the layer styles from two layers in one layer) and change layer opacity to 35% for new layer.

Then load selection of this layer with Select > Load Selection, then go to the layer under with big circle shape and press Delete button to clear selected area.

Remove selection with Ctrl+D and merge all layers together except the background layer. Ok, now move to the next step.
The last thing we have to do is to add transparency in some places. After adding the transparency we will get realistic view reflection on the object from the background. For this purpose select the Polygonal Lasso Tool and make selection similar to mine on the picture below.

Then hold Shift button to add more selected areas to the icon.

After that we have to feather the selection borders a little bit. Use Select > Modify > Feather to feather selection about 5 pixels.

Ok, then get ou the Eraser Tool (Opacity: 30%) and a soft round brush about 50 pixels to make small clean work. But please be very careful with the Eraser Tool cause if you will apply to much, the icon will not be looking good.

Now, remove selection with Ctrl+D. That is it! Looks very cool, isn’t it?

Final Image
Let’s check how it will be looking on different colors of background.
 Posted in: about photoshop,andesta blog,basic photoshop,CS 3,CS 4,Photoshop,photoshop tutorials


0 comments:
Post a Comment