Create a new document (size doesn’t really matter) with light grey background, create a new layer and use a big soft white brush to paint a spot light from the top:

Load the crack brush into Photoshop, paint some crack pattern around the canvas (with a white colour brush) as shown below:

Use the Crack brush downloaded, select one from the pack:

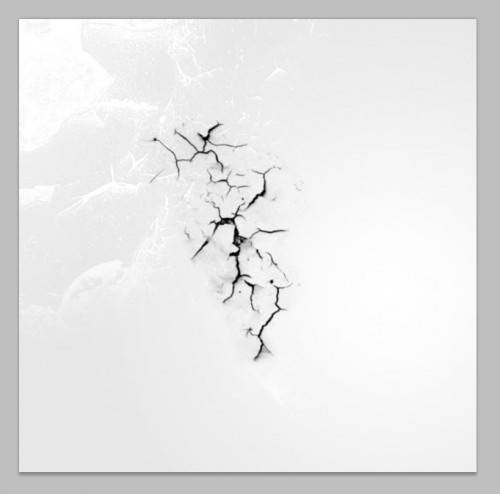
Adjust the brush size to fit our canvas, paint crack pattern as shown below with a black brush:

Perspective it with free transform tool (Ctrl + T and right-click) as shown below:

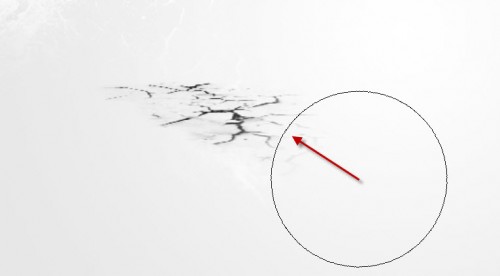
Use a soft eraser to remove its edges so it blends into the background:

Drop the layer opacity to around 20%, duplicate the crack layer once and link it with the original crack layer, you will have the following effect:

Use a Lasso Tool with 40px feather to draw a selection, and render some cloud in it with the cloud filter:

As you can see, because the feather setting we have on the lasso selection tool, the cloud will have a fade effect around its edge, making it easier to manipulate:

Drop the layer opacity for this cloud layer to around 20%, compress this cloud layer down with free transform tool:

Duplicate this cloud layer a few times and move them around the ground – adjust their shape, layer opacity as you go
and here is the effect you will have so far:

Now we can have a play with the text layer. Use the Type Tool to type a letter on to the canvas – I will show you two ways to warp its shape:
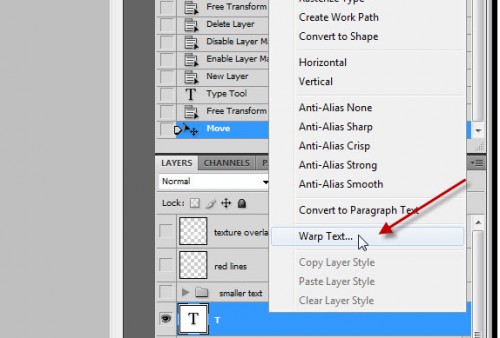
Method 1: Right-click on the text layer, and choose “Warp Text … ” option:

You will be prompted with the following window, which you then select the style you want, and adjust the Bend, Horizontal and Vertical Distortion:

This method will maintain the type layer as it is – however, you can not paint on it as it’s not a rasterized layer.
Method 2: You can Rasterize the text layer by right-clicking the layer and choose Rasterize Type:

Then hit Ctrl + T, then right-click on the text to select “Warp”:

Please note that for method 2, once you rasterize the text, you will turn this layer into a flat layer.
Repeat this process on a few more letters, make a combination of those as shown below:

Create a layer under the text and use a soft black brush to paint some shadow under the text, use soft erase tool to remove unnecessary bits as you paint:
Hint: set the layer opacity to around 20% for a subtle effect, don’t over paint the shadow.

Now we can make a custom brush and use it as an eraser. Firstly, let’s create a new document sized 80px * 80px with transparent background, create a new layer and grab the polygon tool:

Set sides to “3* for a triangle shape on the tool option bar:
Draw a triangle as shown below:

Then go to “Edit > Define Brush Preset”:

Give this brush a name and click on “OK” – you have finished making a new brush :)

Apply the following brush options to this newly-defined brush:
Shape Dynamics

Scattering

and tick the “Airbrush”, “Smoothing” and “Protect Texture” options.
Use this brush as eraser, erase some parts of the layer as shown below: (adjust the brush size as you see fit)

OK we’re almost done! For some final touches, we can duplicate the text layer a few times, reduce their sizes and rotate them with free transform tool, scatter them around the canvas as shown below:

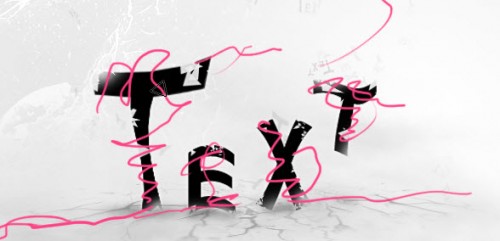
I also drew some lines around the text on a new layer:

and erased some parts of the lines with the triangle brush that was made earlier:

and here is the effect so far:

I added Some further colouring and lighting effect, and here is the final effect I have for this tutorial:


 areyis

 Posted in:


0 comments:
Post a Comment