

 areyis


Step 1. Firstly duplicate the layer (right mouse click the layer and select 'Duplicate layer').
Step 2. Desaturate this new layer (Image > Adjust > Desaturate or Shift + CTRL + U) and rename it Desaturated.
Step 3. Duplicate the layer named Desaturated.
Step 4. Invert this new layer (Image > Adjust > Invert or CTRL + I) and rename it Desaturated & Inverted


Right mouse click the top layer titled Desaturated & Inverted and choose Blending Options. Change the Blend Mode to Color Dodge.
Your image should now appear to have almost nothing in it, like this

I used a radius of around 2 pixels, but you'll need to play around until you find a level you like.

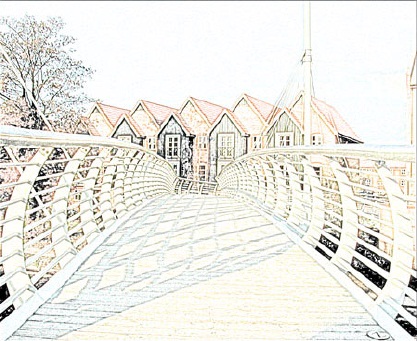
This is where you can play around to find different effects. I used the Fresco filter (Filter > Artistic > Fresco)
but Cutout works well, as does Smudge Stick and Film Grain.Have fun with it.

Let me know if you find any nice variations
 Posted in: about photoshop,advance tutorials,CS 3,CS 4,CS 5,Photoshop,photoshop tutorials


0 comments:
Post a Comment