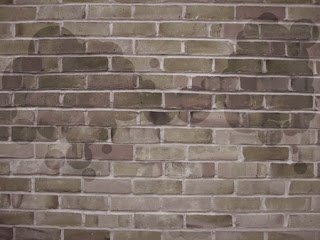
Open a new file having 1024×768 px and 72 dpi. You may use a brick wall as a background for the picture.
Press on Shift button and make use of the next instrument
to represent a lot of circles colored in 5D5D5D
Set Overlay on the layers
Insert the same way a lot of other circles, colored this time in 505050
Set Overlay on the layers too
Using the same instrument applied before
represent one more layer of circles colored in 634F4F
Fill 70% on the layers and set Overlay option for them
Write now the site’s name, having inserted in the next table the necessary demands for the inscription
Set this time Hard Light on the layers.
Blending Options-Drop Shadow
Blending Options-Stroke
Select a brush with blurred edges on a new layer and try to draw several patches on the picture. They should have different colors – 5C0003 and 160F2B
Set Overlay on the layers
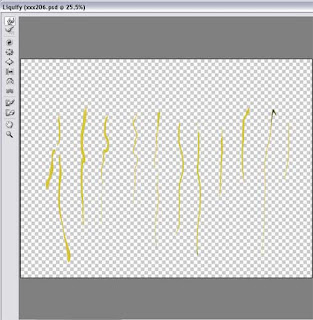
Draw on a new layer several yellow patches and select the option Filter Liquify to make everything look like in the picture (the colors should be blurred out with SmudgeTools(R)) and unnecessary elements may be erased with the usual instrument
Fill 80% on the layers and set Linear Burn on the layers
Make a copy of the new made layer and make use of the Free Transform selection to turn around on 180 degrees the layer. Select the eraser to make the necessary corrections also.
Set Color Burn on the layers
thanks for enjoy it


 areyis


 Posted in:


0 comments:
Post a Comment