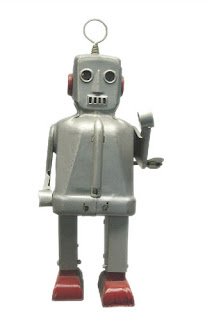
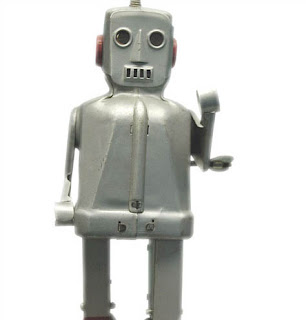
Sometimes we need to place an object with a colored background on a white background and this photoshop tutorial shows you how you can do that..
We need to separate robot from background area. Select Polygonal Lasso Tool to create selection. Hold Shift button to add or Alt to subtract to selection.
We need to separate robot from background area. Select Polygonal Lasso Tool to create selection. Hold Shift button to add or Alt to subtract to selection.
Press Ctrl+J to duplicate selected area to new layer. Select all background layer content and press Del to delete. With Paint Bucket Tool selected fill layer with white color.
It seems this tutorial is finished but not by any chance. We need to integrate robot into new environment by adding glare and reflexions for example. Select robot layer and apply Image > Adjustments > Hue/Saturation.
Apply Layer > Layer Style > Inner Glow to robot layer.
Create a new layer and merge it with robot layer to get all layer effects into one layer. Now we are going to increase shining of glares on robot edges. Select Brush Tool (soft round brush with 20px), create a new layer on top of robot layer and draw white highlights on the edges of the robot on new layer.
Create robot selection (Ctrl+click on robot thumbnail on layers palette). After that select new layer, invert selection with Ctrl+Shift+I and press Delete to clear selected area. Remove selection with Ctrl+D and change layer mode to Soft Light for this layer.Add some glares at the bends of the body with the Brush Tool to show the three-dimensional robot. To do that create new layer, apply Brush Tool as on previous step. When you have finished applying Brush Tool update layer mode to Soft Light.
Select Eraser Tool (Soft Brush) to clean a bit your glares so they become more realistic.
Now we are going to create robot shadow. Select robot layer and apply Layer > Layer Style > Drop Shadow.
Go to Layer > Layer Style > Create Layer so that we can separate shadow from robot. We now have a new layer under robot layer. With shadow layer selected go to Edit > Free Transform and transform it like i did.
Apply Filter > Blur > Gaussian Blur to shadow layer.
Update shadow layer opacity to 40% and now this tutorial is complete.
Final Image


 areyis


 Posted in:


0 comments:
Post a Comment